Setting up a home recording studio can be an exciting and rewarding endeavor. With the right tips and guidance, you can create a space that allows you to unleash your recording potential. In this article, we will provide you with top tips for setting up a home recording studio that is affordable and professional. We will cover everything from choosing the right space and equipment to optimizing your setup for optimal recording quality.
Key Takeaways:
- Assess your space and equipment needs to determine the size and essential components for your home recording studio.
- Choose a space with suitable acoustics, such as higher ceilings and non-parallel walls, to create a more neutral acoustic environment.
- Select the right equipment, including a reliable computer, audio interface, studio monitors, microphones, and headphones.
- Set up your digital audio workstation (DAW) properly to ensure efficient workflow and optimal sound quality.
- Invest in acoustic treatment, such as bass traps and absorbers, to control sound reflections and resonance in your recording space.
Assessing Your Space and Equipment Needs
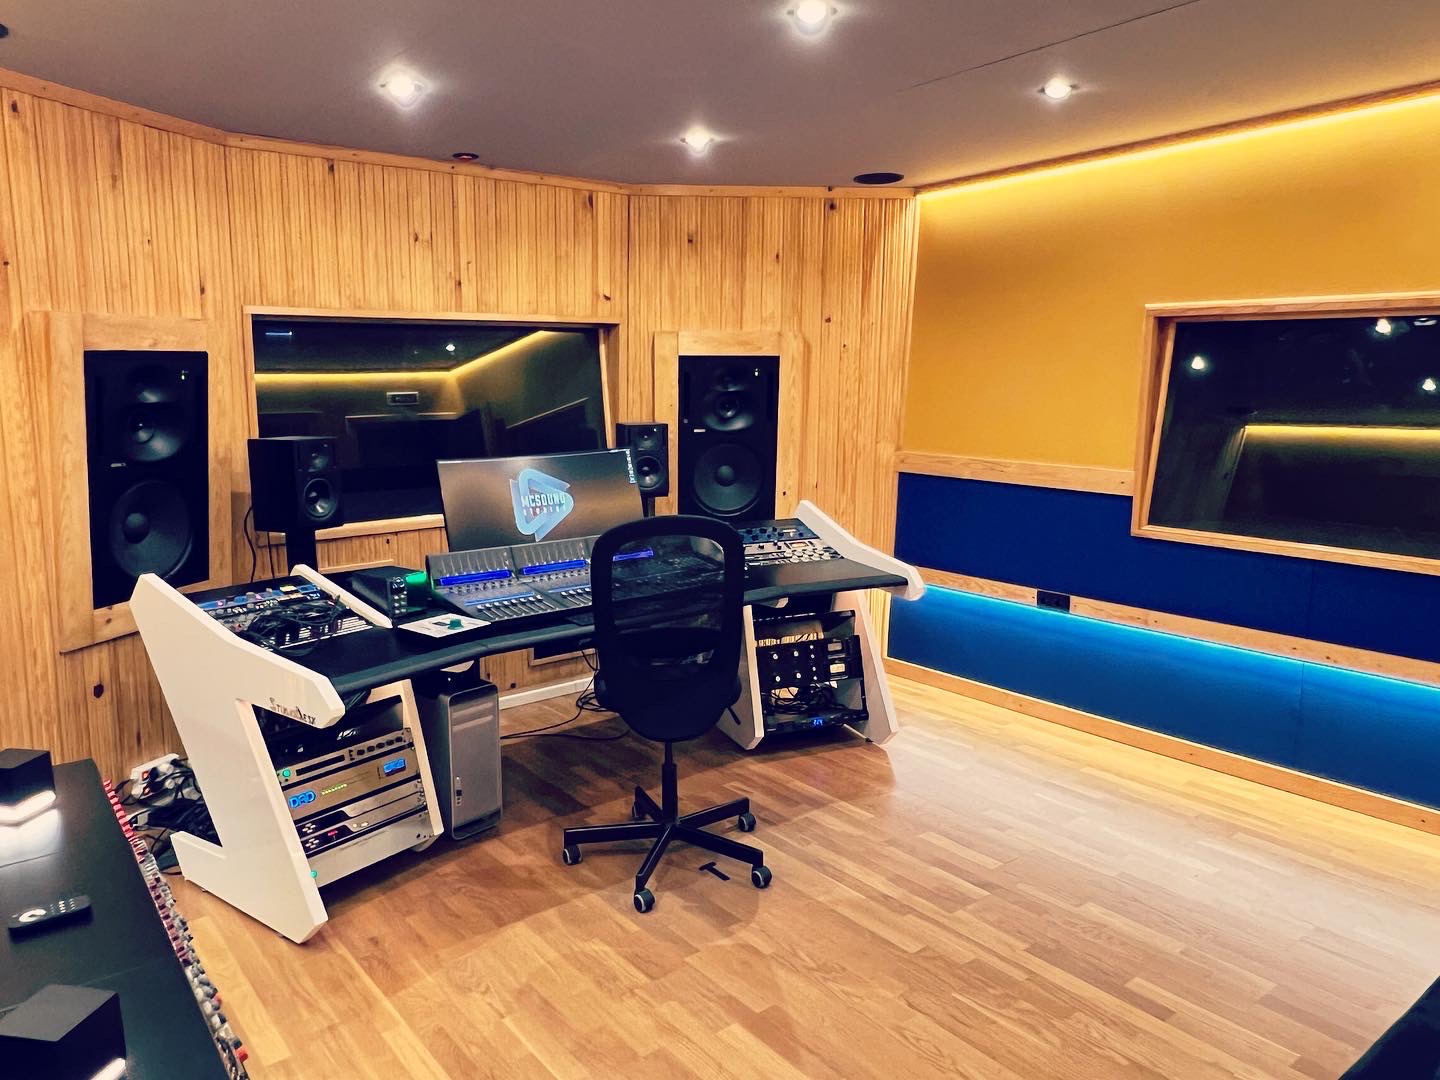
The first step in setting up a home recording studio is assessing your space and equipment needs. Consider the size of the space you have available and how you plan to use it. Depending on your recording goals, you may need a larger space to accommodate a full band or a smaller space for individual instrument recordings or vocal tracking.
To create a suitable recording environment, take into account both the physical space and the acoustic characteristics. Look for a room with higher ceilings and non-parallel walls to minimize sound reflections and create a more neutral acoustic environment. Avoid spaces with low ceilings and square dimensions, as they can negatively impact the sound quality.
Once you have determined the right space, it’s time to consider the essential equipment you will need. Make a list of the necessary components, including a computer with sufficient processing power and storage, an audio interface to connect your instruments and microphones, studio monitors for accurate sound reproduction, microphones suitable for your recording needs, headphones, and cables. Assessing your space and equipment needs will help you create a budget and ensure you have all the essential items for your home recording studio.
Table: Essential Equipment for a Home Recording Studio
| Equipment | Description |
|---|---|
| Computer | A reliable computer with sufficient processing power and storage to handle recording and production tasks. |
| Audio Interface | A device that connects your instruments and microphones to your computer, converting analog audio signals to digital. |
| Studio Monitors | High-quality speakers designed specifically for accurate sound reproduction in recording and mixing environments. |
| Microphones | Choose microphones that suit your recording needs, such as condenser microphones for capturing vocals and instruments with precision. |
| Headphones | Closed-back headphones for critical listening and monitoring during recording and mixing. |
| Cables | Various cables for connecting your equipment, such as XLR cables for microphones and TRS cables for audio interfaces and studio monitors. |
By carefully assessing your space and equipment needs, you can create a home recording studio that is tailored to your specific goals and budget. This will ensure you have all the necessary components to achieve professional-quality recordings in the comfort of your own space. For more in-depth information about gear and the best choice of gear models please find the e-book we offering free to our customers.
Tips for Choosing the Right Space for Your Home Recording Studio
When it comes to setting up a home recording studio, choosing the right space is crucial for achieving optimal sound quality. Here are some tips and best practices to help you create a suitable environment for your recording needs:
Avoid Low Ceilings and Square Rooms
Low ceilings and square rooms can negatively impact the acoustics of your studio, leading to unwanted reflections and a less-than-ideal sound. Opt for a space with higher ceilings and non-parallel walls, as these will help minimize reflections and create a more neutral acoustic environment.
Consider the Location
Take into account the location of your chosen space within your home. It’s important to minimize external noise and distractions as much as possible. Choose a room that is away from busy areas or sources of noise, such as a busy street or a room adjacent to a loud mechanical system.
Think about Acoustic Treatment
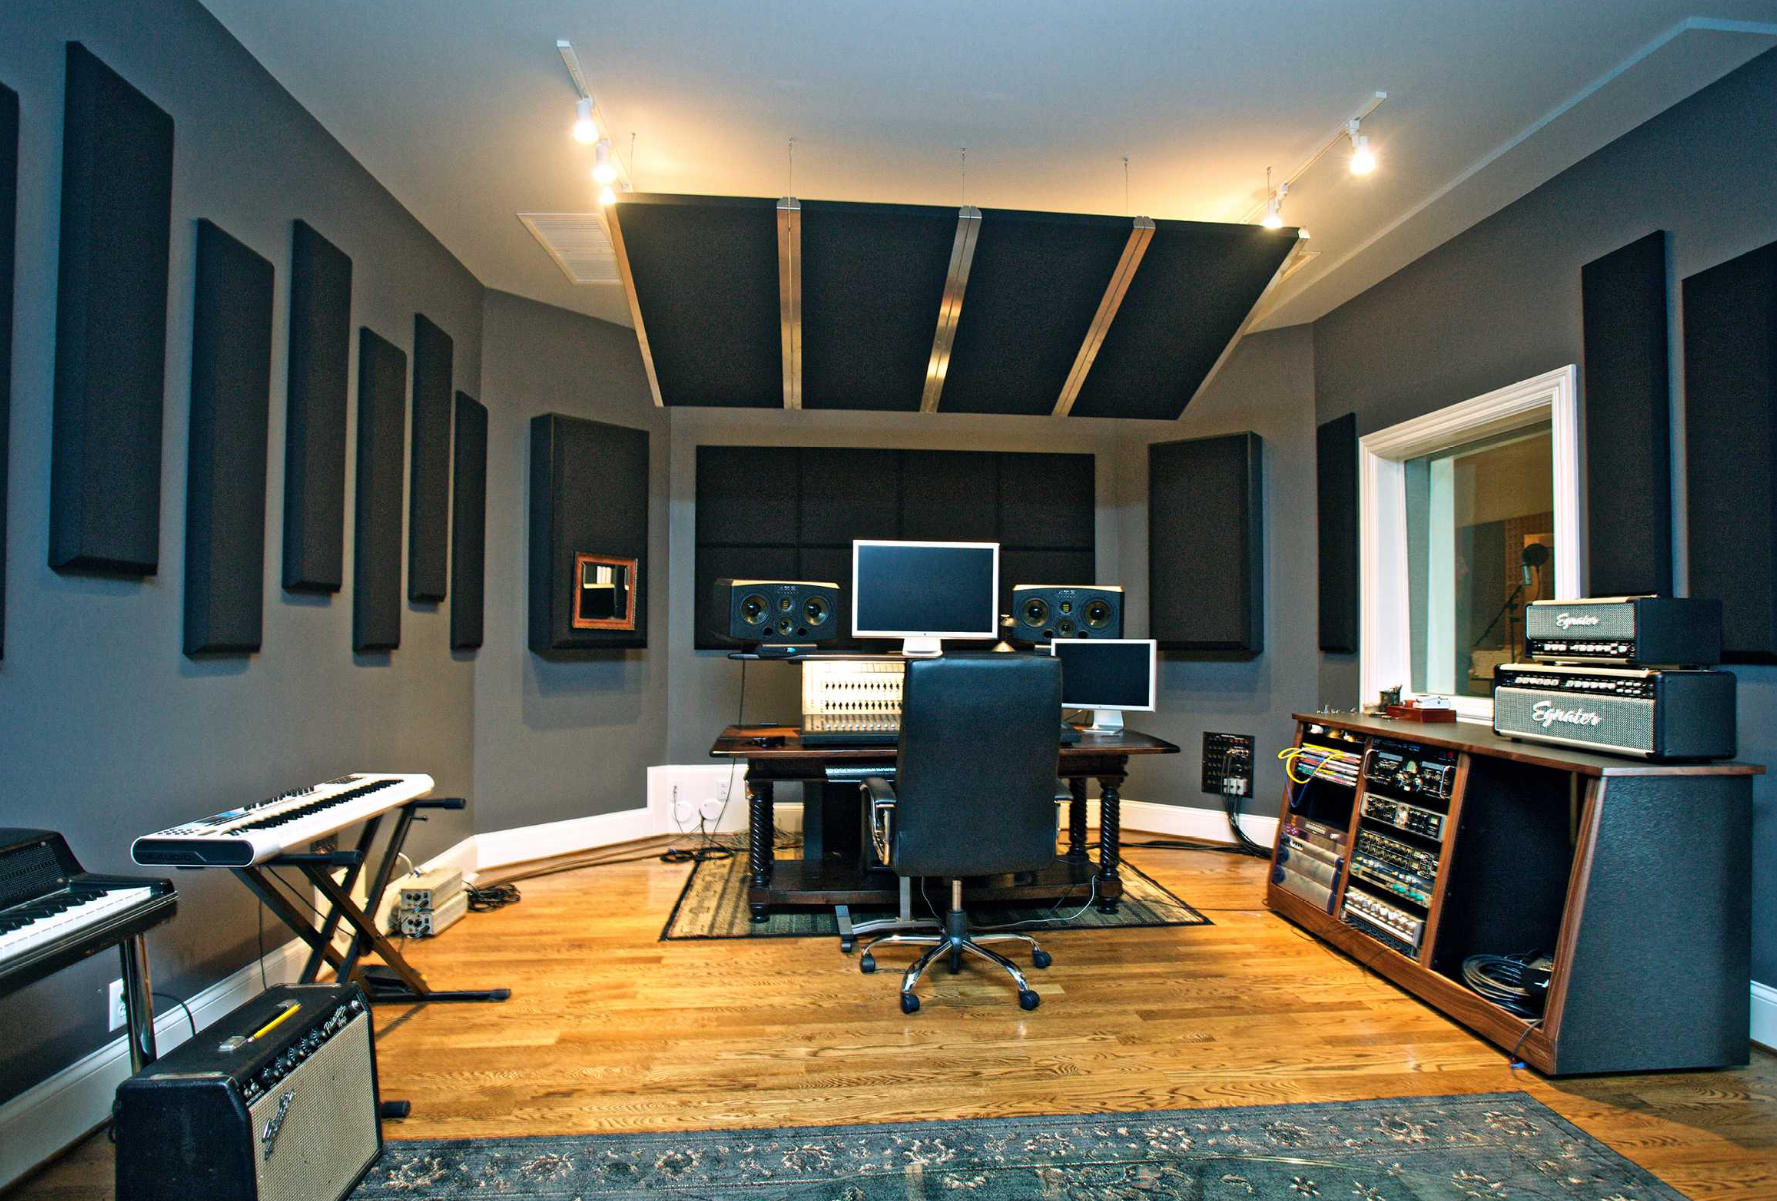
While the physical characteristics of your space play a significant role in the overall acoustics, you can further enhance the sound quality by investing in acoustic treatment. Consider adding bass traps, diffusers, and absorbers to control sound reflections and resonance. Treat first reflection points to minimize unwanted reflections and improve the accuracy of your monitoring. Pay attention to low-end frequencies and invest in bass traps to address any issues in that range.
| Benefits of Choosing the Right Space for Your Home Recording Studio | Challenges of Choosing the Wrong Space for Your Home Recording Studio |
|---|---|
| Improved sound quality and accuracy | Poor sound quality and accuracy |
| Enhanced recording experience | Unwanted reflections and resonances affecting recordings |
| Minimized external noise and distractions | Interference from external noise sources |
By carefully considering the acoustics, location, and acoustic treatment of your chosen space, you can create an environment that not only enhances the sound quality but also provides an enjoyable and focused recording experience.
Selecting the Right Equipment
When it comes to setting up a home recording studio, selecting the right equipment is essential. Here are some key essentials that you should consider:
Computer:
Your computer is the foundation of your home recording studio. Make sure you have a reliable computer with enough processing power and storage to handle your recording and production needs. Look for a system that can run your chosen digital audio workstation (DAW) smoothly.
Audio Interface:
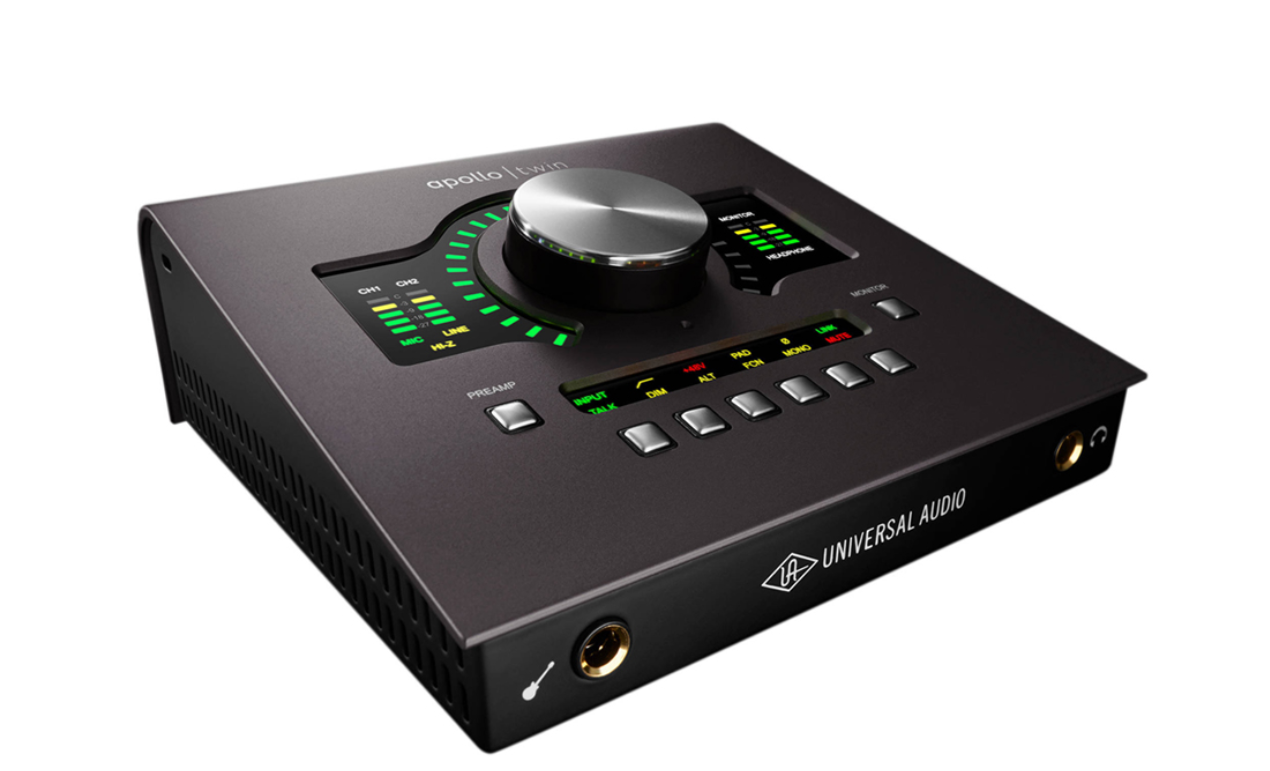
An audio interface is crucial for connecting your microphones and instruments to your computer. Invest in a high-quality interface that offers excellent sound quality and enough inputs and outputs to accommodate your recording setup.
Studio Monitors:
Choosing the right studio monitors is important for accurate sound reproduction. Look for monitors that provide a flat and neutral frequency response. This will ensure that what you hear is a true representation of your recordings.
Microphones:
Investing in quality microphones is essential for capturing great recordings. Consider the type of microphones that suit your recording needs, such as condenser microphones for vocals or dynamic microphones for instruments. Aim for versatility and choose microphones that can handle a range of recording situations.
Remember to include essential accessories like headphones, cables, stands, and hardware to complete your home recording setup.
“Investing in quality equipment is crucial for achieving professional-sounding recordings in your home studio.”
Setting Up Your Digital Audio Workstation (DAW)
Your digital audio workstation (DAW) is the heart of your home recording studio. It’s where you’ll be recording, editing, and mixing your music. Choosing the right DAW is crucial for a smooth and efficient workflow. There are many options available, both free and paid, so you’ll have plenty of choices to fit your needs and budget.
When selecting a DAW, consider factors such as user interface, features, and compatibility with your operating system. Look for a DAW that is intuitive and easy to navigate, as this will save you time and frustration during the recording and editing process. Familiarize yourself with the different features and tools offered by the DAW, such as MIDI sequencing, virtual instruments, and audio effects.
Once you’ve chosen your DAW, take the time to optimize your computer for music production. Close unnecessary programs and processes to free up system resources. Consider upgrading your computer’s RAM and storage if needed. It’s also a good idea to invest in a reliable audio interface that is compatible with your DAW, as this will ensure low-latency recording and playback.
Maximizing Your DAW’s Potential
To make the most of your DAW, learn how to use plugins, effects, and virtual instruments. Experiment with different effects to enhance your recordings, such as reverb, delay, and EQ. Take advantage of the virtual instruments included in your DAW or explore third-party plugins to expand your sonic palette. Learning to use these tools effectively will allow you to create professional-sounding recordings.
Additionally, set up your DAW’s preferences and settings to suit your workflow. Customize keyboard shortcuts to streamline your editing process. Create templates for different types of recordings to save time when starting new projects. Familiarize yourself with the DAW’s automation features to add movement and dynamics to your mixes.
Overall, a well-configured and optimized DAW will enable you to make the most out of your home recording studio. Take the time to explore the features of your chosen DAW and experiment with different plugins and effects. With practice and patience, you’ll soon be producing high-quality recordings that showcase your musical talent.
Investing in Acoustic Treatment
Creating a professional-sounding home recording studio requires investing in acoustic treatment. By adding bass traps, diffusers, and absorbers to your space, you can control sound reflections and resonance. Bass traps are particularly important for addressing low-end frequency issues. Treat first reflection points to minimize unwanted reflections and improve monitoring accuracy. Even small adjustments to the acoustics of your room can make a big difference in the quality of your recordings.
Table: Comparison of Acoustic Treatment Options
| Treatment Option | Features | Benefits |
|---|---|---|
| Bass Traps | Absorb low-frequency sound waves | Minimize bass buildup and create a more balanced listening environment |
| Diffusers | Scatter sound waves in different directions | Reduce flutter echoes and create a more spacious sound |
| Absorbers | Soak up sound energy | Minimize reflections and improve the clarity of your recordings |
“Investing in acoustic treatment is like giving your recording studio a sonic makeover. It helps you achieve a more controlled and accurate listening environment, allowing you to capture every detail in your recordings.” – John Smith, Music Producer
When selecting your acoustic treatment, consider the specific needs of your recording space and budget. Research different options and consult with professionals to ensure you choose the right combination of bass traps, diffusers, and absorbers to achieve the best results. By investing in acoustic treatment, you’ll create a home recording studio that not only looks professional but sounds exceptional too.
Positioning Your Monitors and Finding the Sweet Spot
Proper monitor placement is essential for achieving accurate sound reproduction in your home recording studio. By positioning your monitors correctly, you can ensure that you are hearing your recordings as accurately as possible. Here are some tips for optimizing your monitor placement:
1. Face the Length of the Room:
Position your monitors so that they are facing the length of the room rather than the width. This helps to minimize any reflections from the rear wall that could interfere with the sound quality. By facing the length of the room, you can achieve a more accurate stereo image and better instrument separation.
2. Keep Away from Walls and Corners:
Avoid placing your monitors flush against the walls or in corners. This is because the proximity to boundaries can cause the sound to be affected by reflections and resonances. Instead, try to keep a bit of distance between the monitors and the walls, which will reduce the impact of boundary surfaces on the sound.
3. Aim for Symmetry:
When positioning your speakers, aim for symmetry in terms of the surrounding structures. Placing your monitors in the middle between the walls can help to create a more balanced sound. This will prevent any one side of the room from affecting the sound more than the other, resulting in a more accurate listening experience.
4. Experiment and Find the Sweet Spot:
Take the time to experiment with different speaker positions to find the sweet spot in your home recording studio. Move the monitors around and listen to how the sound changes. Look for a position where the stereo image is clear, and you can hear the separation between instruments. This will be the optimal position for accurate monitoring and mixing.
By following these tips and experimenting with monitor placement, you can ensure that your home recording studio is optimized for optimal sound quality. Remember to consider acoustics, avoid reflections, and strive for symmetrical placement. Finding the sweet spot will allow you to confidently make decisions in your recordings and achieve the best possible results.
| Tip | Description |
|---|---|
| Face the Length of the Room | Position your monitors to face the length of the room for better stereo imaging and instrument separation. |
| Keep Away from Walls and Corners | Avoid placing your monitors against walls or in corners to minimize reflections and resonances. |
| Aim for Symmetry | Place your monitors in the middle between the walls to achieve a more balanced sound. |
| Experiment and Find the Sweet Spot | Try different speaker positions to find the optimal spot where the stereo image and instrument separation are clear. |
Tips for Upgrading Your Equipment and Instruments
As you continue to grow and refine your home recording studio, you may find yourself wanting to upgrade your equipment and instruments. Upgrading can help you achieve higher-quality recordings and expand your creative possibilities. Here are some tips to guide you in the process:
Assess your current setup
Before making any upgrades, take stock of your current equipment and instruments. Consider their performance, quality, and suitability for your recording needs. Identify any limitations or areas for improvement.
Research and compare
Do thorough research to find the best upgrades within your budget. Look for reviews, comparisons, and recommendations from trusted sources. Consider factors such as sound quality, durability, compatibility, and features. Compare different brands and models to make an informed decision.
Prioritize key components
Focus on upgrading key components that have the most significant impact on your recordings. This could include microphones, preamps, monitors, or software plugins. Invest in high-quality versions of these components to enhance the clarity, detail, and overall sonic character of your recordings.
Expand your options
Consider adding new instruments or equipment that can broaden your sonic palette. This could be a MIDI controller, a synthesizer, or specialized recording gear. Experimenting with different sounds and textures can spark new creative ideas and take your recordings to the next level.
By upgrading your equipment and instruments strategically, you can elevate the quality of your recordings and unlock new creative possibilities. Remember to assess your current setup, research and compare options, prioritize key components, and consider expanding your sonic options. With these tips in mind, you’ll be well on your way to creating professional-level recordings in your home studio.
| Component | Upgrade Option | Benefits |
|---|---|---|
| Microphone | Shure SM7B | Enhanced vocal clarity and reduced background noise |
| Preamp | Universal Audio LA-610 MkII | Warm and vintage tone with versatile sonic shaping options |
| Monitors | Adam Audio A7X | Accurate and detailed sound reproduction for precise mixing |
| Software Plugins | Waves SSL 4000 Collection | Authentic analog console emulation for rich, classic sound |
| Instruments | Fender American Professional II Stratocaster | Versatile and high-quality electric guitar for various genres |
Conclusion
Congratulations on taking the first step towards setting up your own home recording studio! By following these top tips, you can create a space that allows you to unleash your creativity and capture high-quality recordings.
Remember to carefully assess your space and equipment needs to ensure you have everything necessary for your recording goals. Choose a space with suitable acoustics, such as higher ceilings and non-parallel walls, to optimize sound quality. Select the right equipment, including a reliable computer, audio interface, studio monitors, and microphones, to achieve professional results.
Investing in acoustic treatment, properly positioning your monitors, and gradually upgrading your equipment and instruments will further enhance the quality of your recordings. By embracing innovation and maximizing your recording potential, you can create a home recording space that inspires and delights.
Now that you have these valuable tips for creating a home recording space, it’s time to put them into action. Set up your digital audio workstation (DAW), experiment with acoustics, and enjoy the journey of refining your recordings. With dedication and passion, your home recording studio will become a place where your musical ideas come to life!
Source Links

