Are you a music enthusiast looking to create your own high-quality recordings at home? Look no further! Our beginner’s guide to home recording is here to help you master the art of audio production. Whether you’re a singer-songwriter, a podcaster, or simply want to capture your musical ideas, this guide will provide you with valuable tips, equipment recommendations, and techniques to set up your very own DIY home recording studio.
Key Takeaways:
- Learn the basics of mastering and its importance in the audio production process.
- Discover why it’s essential to master your music to compete with commercial tracks.
- Understand the fundamental techniques and tools involved in the mastering process.
- Get started with a beginner-friendly home recording setup and the necessary equipment.
- Create an acoustically treated home recording space for optimal sound quality.
What is Mastering?
Mastering is the final step in the audio production process where audio tracks or albums are enhanced and prepared for final release. It is the process of finalizing an audio track or album, ensuring it sounds its best and is ready for distribution. Mastering involves a range of techniques and adjustments to optimize the sound quality and overall listening experience.
During mastering, various elements of the audio are refined and balanced. This includes adjusting the volume levels, equalizing the frequency spectrum, applying compression to control dynamics, and adding effects to enhance the overall sound. The goal is to make the music sound cohesive, polished, and consistent across different playback systems, such as speakers, headphones, and car stereos.
Mastering also entails preparing the audio for specific formats, such as CD, streaming platforms, or vinyl. This involves ensuring the tracks meet industry standards in terms of loudness, file format, and metadata. By applying mastering techniques, audio engineers can bring out the full potential of the music and make it ready for public consumption.
What is Mastering?
| Key Elements of Mastering | Explanation |
|---|---|
| Volume Leveling | Adjusting the overall volume of the audio to ensure it is consistent and appropriate for the desired listening experience. |
| Equalization | Balancing the frequency spectrum of the tracks, enhancing or attenuating particular frequencies to achieve a pleasing tonal balance. |
| Compression | Controlling the dynamic range of the audio by reducing the difference between the loudest and softest parts, resulting in a more balanced sound. |
| Effects and Enhancements | Applying various effects like reverb, stereo widening, or harmonic excitement to enhance the overall sound and create a sense of depth and space. |
“Mastering is the final touch that transforms a good mix into a great sounding and commercially viable product.” – Audio Engineer
Why Master Your Music?
Mastering your music is crucial if you want it to stand up against commercial tracks. By mastering your music, you can enhance its sound quality, making it louder, fuller, and more polished. A well-mastered track ensures that your music sounds great on various playback systems and brings out the best in your song’s production.
When you compete with commercial tracks, it’s important to have your music professionally mastered. Commercially released songs go through an extensive mastering process, which gives them a consistent and powerful sound. By mastering your music, you can achieve a similar level of professionalism and compete on equal ground with other artists in the industry.
Moreover, mastering helps optimize your music for different formats and platforms. Whether it’s streaming services, radio play, or physical releases, a properly mastered track ensures that your music is well-suited for a variety of distribution channels. It allows your music to be enjoyed by listeners across different platforms without compromising its quality.
Benefits of Mastering Your Music:
“Mastering your music gives it the final touch, bringing out the best in your songs and making them sound professional. It’s the secret ingredient that elevates your music and captivates your audience.”
Mastering your music not only improves its sound quality but also increases its chances of success in the competitive music industry. It brings your songs to life, giving them a professional edge and making them ready for release to captivate and engage your audience.
The Basics of Mastering
Mastering is an important step in the audio production process that involves balancing and correcting the overall frequency spectrum of a song. By applying various mastering techniques, you can ensure that your music sounds great on any playback system and competes with commercial tracks. In this section, we will explore the fundamental aspects of mastering and the techniques used to enhance the overall sound of your music.
Equalization
Equalization, or EQ, is a key aspect of mastering that involves adjusting the balance of frequencies in a song. By carefully boosting or cutting specific frequency ranges, you can improve the clarity, definition, and tonal balance of your tracks. EQ can be used to enhance the presence of vocals, add warmth to instruments, and create a pleasing overall sound.
Compression
Compression is another important mastering technique that helps to even out the dynamic range of a song. By reducing the volume of the loudest parts and boosting the volume of the softer sections, compression helps to create a more consistent and polished sound. It can also add punch and impact to your music, making it sound more professional and radio-ready.
Volume and Loudness
One of the primary goals of mastering is to ensure that your music reaches a competitive volume level. This involves using specialized tools and techniques to increase the overall loudness of your tracks while maintaining a balanced and dynamic sound. By carefully controlling the volume, you can make your music stand out and grab the listener’s attention.
Mastering is a complex process that requires both technical expertise and a keen ear for detail. By understanding the basics of mastering and applying the right techniques, you can take your home recordings to the next level and create music that sounds professional and polished.
Getting Started with Home Recording
If you’re interested in diving into the world of home recording, setting up a beginner-friendly home recording setup is the first step towards bringing your musical ideas to life. Here are the essential components you’ll need:
Equipment
To start recording at home, you’ll need a computer or laptop that meets the software requirements of your chosen digital audio workstation (DAW) software. A DAW is the software you’ll use to record, mix, and edit your music. Additionally, you’ll need a recording interface, which allows you to connect microphones and instruments to your computer.
Speaking of microphones, you’ll want to invest in a good quality dynamic microphone for recording vocals and instruments. A microphone stand, pop filter, and cables are also necessary for optimizing your recording sessions.
Software
When it comes to home recording software, there are several beginner-friendly options available. One popular choice is GarageBand, which is available for free on Mac computers. It offers a user-friendly interface and a wide range of tools and effects for recording and editing music. For Windows users, Reaper is a highly regarded affordable DAW option with a flexible pricing structure along other professional options like LOGIC PRO, CUBASE, and PROTOOLS.
No matter which software you choose, take advantage of online tutorials and resources to familiarize yourself with its features and functionalities. This will help you navigate the software more efficiently and make the most of your home recording experience.
Remember, the key to getting started with home recording is to have the necessary equipment and software, along with a willingness to learn and experiment. With practice and patience, you’ll be well on your way to creating your own professional-sounding music right from the comfort of your home.
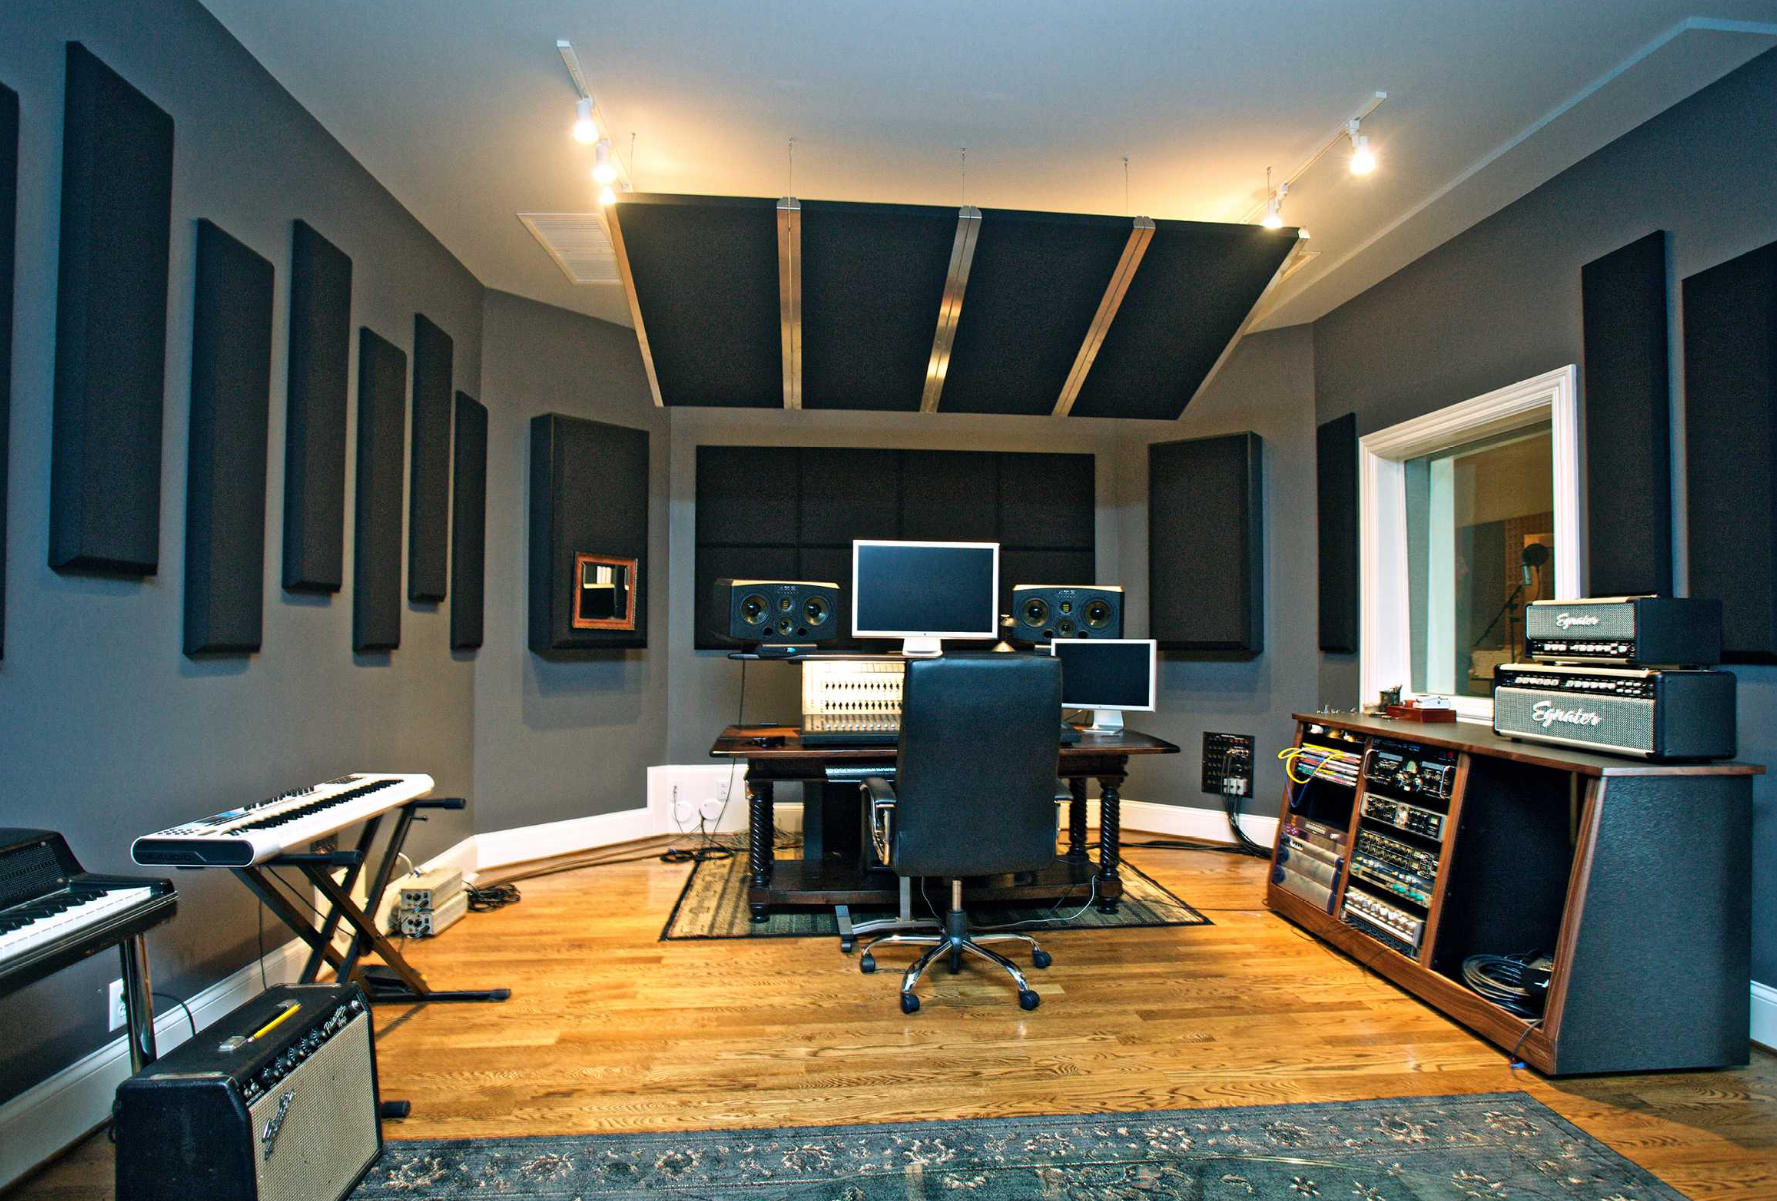
Creating a Home Recording Space
When setting up your home recording studio, it’s important to create a suitable space that is acoustically treated to ensure optimal sound quality. Acoustic treatment involves implementing techniques that control sound waves and minimize unwanted reflections, resulting in a better listening environment for both mixing and mastering.
One essential aspect of acoustic treatment is monitor isolation. Placing your studio monitors on sturdy stands or isolation pads helps prevent vibrations from being transferred to your desk or surrounding objects, reducing unwanted resonances that can affect the accuracy of your sound.
Reflection control is another key element in optimizing your home recording space. Using foam tiles strategically placed on walls, ceilings, and corners helps absorb excess sound reflections and minimizes echo, creating a more balanced and controlled acoustic environment.
Additionally, bass trapping is crucial for achieving a well-rounded sound. Low-frequency sounds tend to accumulate in the corners of a room, resulting in bass buildup or muddiness. Installing foam wedges or bass traps in these areas helps absorb excessive bass frequencies, resulting in a tighter and more focused bass response.
Acoustic Treatment Recommendations
| Acoustic Treatment | Features | Price Range |
|---|---|---|
| Monitor Isolation Pads | Reduces vibrations and resonance | $30-$100 |
| Acoustic Foam Panels | Improves sound absorption and reduces reflections | $50-$200 |
| Bass Traps | Controls low-frequency buildup | $50-$150 |
Investing in quality acoustic treatment materials will significantly enhance the accuracy and precision of your recordings, allowing you to make informed decisions during the mixing and mastering process. By creating a well-treated home recording space, you’ll have the foundation for achieving professional-quality sound in your music.
Fine-tuning Your Ears
Before diving into the mixing and mastering process, it is crucial to calibrate your ears to develop a discerning sense of critical listening. One effective way to achieve this is by regularly exposing yourself to high-quality commercial recordings. Take the time to carefully listen to these tracks, paying attention to the individual instruments, their blend, and the overall sound.
By familiarizing yourself with well-mixed and mastered songs, you can train your ears to recognize the characteristics of professional-grade audio. Notice how certain instruments stand out, how the frequencies are balanced, and how the different elements of the music complement each other. This critical listening practice will help you develop a reference point for what a well-crafted track should sound like.
As you calibrate your ears, it’s important to listen to a diverse range of music genres and styles. This will expose you to different production techniques and sonic aesthetics, broadening your understanding of what is possible in the realm of audio production. Additionally, consider using high-quality headphones or studio monitors to ensure accurate playback and a true representation of the recorded material.
Remember, fine-tuning your ears is an ongoing process that requires active engagement and practice. Embrace the opportunity to refine your listening skills and strive for continuous improvement. With a well-trained ear, you will be better equipped to make informed decisions during the mixing and mastering stages of your own music production.
Avoiding the Preset Curse
When it comes to mixing and mastering your music, plugins can be a valuable tool. They offer a wide range of effects and processing options to enhance the sound of your tracks. However, it’s important to avoid falling into the “preset curse” trap. While presets may seem like a convenient solution, relying too heavily on them can limit your creativity and result in a generic sound.
Instead, embrace the process of tweaking and experimenting with your plugins. Each song is unique, and what works for one track may not work for another. Take the time to understand the capabilities of each plugin and how they interact with your audio. By customizing the settings to match the specific needs of your song, you’ll be able to achieve a more personalized and professional sound.
Remember, mixing and mastering is a creative art form, and it’s important to trust your own ears and instincts. Don’t be afraid to break away from presets and explore different combinations of plugins to find the perfect sound for your music. With practice and patience, you’ll develop a keen sense of what works best for your tracks and be able to create a unique sonic signature that sets your music apart.
Conclusion
Congratulations on completing this beginner’s guide to home recording! You now have a solid understanding of the mastering process and the importance of mastering your music. Armed with the necessary equipment and techniques, you can transform your living space into a professional recording studio and create high-quality music.
Remember, mastering your music is crucial if you want it to compete with other commercial tracks. By enhancing the sound quality of your songs, mastering makes them sound louder and fuller. It ensures that your music can be enjoyed on different playback systems, bringing out the best in your production.
With your beginner-friendly home recording setup, you have the tools to kickstart your musical journey. Whether you’re a singer-songwriter, podcaster, or aspiring producer, honing your home recording techniques will take your creativity to new heights. Explore mixing and mastering techniques, experiment with plugins, and fine-tune your ears through critical listening. Embrace the process of tweaking and refining to achieve the perfect sound.
Source Links