Welcome to our guide on mastering the art of promoting and sharing your home recordings! In this article, we will delve into the basics of how to effectively promote and share your music, whether you’re a hobbyist or aspiring musician. With the rise of home recording studios, it has become easier than ever to create high-quality music from the comfort of your own home. However, getting your music out there and attracting an audience can still be a challenge. That’s where mastering the promotion and sharing techniques comes in.
By understanding the strategies and tools available to you, you can effectively promote your homemade recordings, connect with your audience, and even compete with commercially released tracks. We will cover everything from the importance of mastering to the process involved, as well as provide tips on achieving professional-quality results. Whether you’re a musician looking to gain recognition or simply want to share your musical creations with the world, this guide is for you.
Key Takeaways:
- Promoting and sharing your home recordings is essential for gaining recognition and connecting with your audience.
- Mastering the basics of promoting and sharing will help you compete with commercially released tracks.
- Understanding the order of tracks and utilizing fades can contribute to a cohesive album listening experience.
- EQ, compression, and limiting are essential tools in mastering that can enhance the overall sound quality of your music.
- Balancing track levels and testing on different playback devices ensures a consistent listening experience.
Understanding the Basics of Mastering
Mastering is a crucial step in the home recording process that allows you to fine-tune and enhance your music before sharing it with the world. In this section, we will delve into the fundamentals of mastering and explore how it can elevate the quality of your home recordings.
First and foremost, mastering involves adjusting the levels, manipulating frequencies, and ensuring the cohesiveness of the tracks on your album. It is the final touch that brings your music to life and prepares it for distribution. While there are no hard and fast rules in mastering, it is important to understand that the process can vary depending on the genre and style of your music.
By focusing on your home studio mastering techniques, you have the opportunity to take control of the promotion and sharing of your DIY recordings. With the right knowledge and tools, you can achieve professional-level results right from the comfort of your own home. So, let’s dive into the essential techniques and tips that will help you master your music effectively.
The Basics of Mastering
Mastering is the final step in the recording process and involves adjusting the levels, manipulating frequencies, and ensuring cohesiveness of the tracks on an album.
| Benefits of Home Studio Mastering | Differences in DIY Recording Promotion | Online Sharing for Home Recordings |
|---|---|---|
| Ability to control the mastering process according to your artistic vision | Opportunity to explore unique and innovative promotion strategies tailored to your music | Easy access to online platforms and social media to share your music globally |
| Cost-effective alternative to professional mastering services | Flexibility to experiment and learn from the promotion process | Potential to connect with a wider audience and build a fan base |
| Empowerment to make real-time adjustments and improvements to your music | Ability to create a personalized brand and story around your DIY recordings | Opportunity to collaborate and network with other home recording artists |
By understanding the basics of home studio mastering, you can unlock the potential of your home recordings and share your music with a broader audience. With the right techniques and strategies, you can achieve professional-quality results and compete with commercially released tracks. So, let’s embark on this mastering journey together and discover the endless possibilities that await you.
Determining the Order of Tracks on Your Album
When it comes to mastering your album, one important decision you’ll need to make is the order in which the tracks will appear. This may seem like a small detail, but it can have a significant impact on the overall listening experience. Different track orders can create different moods and narratives for the album, so it’s important to carefully consider the flow of your music.
Experimenting with different track orders can help you find the one that works best for your album. Start by listening to your tracks in their current order and take note of how they transition from one to the next. Consider the energy levels, tempos, and tonal qualities of each song. Think about how you want the album to begin, build, and conclude. You may find that certain tracks naturally flow into each other, while others may need to be rearranged for a more cohesive listening experience.
Remember, the order of tracks can create a narrative arc or emotional journey for the listener. You might want to start with an upbeat and catchy track to grab their attention, followed by slower and more introspective songs to create a sense of depth. Alternatively, you could arrange the tracks to gradually increase in intensity, building anticipation as the album progresses. It’s all about finding the right balance and creating a seamless flow.
To help you visualize different track orders, you can create a table like the one below:
| Track Number | Song Title |
|---|---|
| 1 | Into the Night |
| 2 | Dreaming in Color |
| 3 | Lost in the Melody |
| 4 | Breaking Free |
| 5 | The Journey Within |
As you can see, this simple table allows you to easily visualize different track orders and compare the flow of your album. Don’t be afraid to experiment and try different combinations until you find the one that best suits your music. By taking the time to determine the order of tracks on your album, you can enhance the overall listening experience and create a more impactful and cohesive musical journey for your audience.
Understanding EQ Basics in Mastering
Equalization (EQ) is a fundamental tool in the mastering process that allows you to adjust specific frequency ranges in your recorded sound. By enhancing and fine-tuning these frequencies, you can achieve warmth, presence, and brightness in your music. EQ is applied to the entire song as a whole, rather than to individual tracks, which helps create a cohesive and balanced sound.
When using EQ in mastering, it’s important to make subtle and strategic adjustments. Drastic changes can negatively impact the overall sound quality. Instead, focus on making precise tweaks to enhance certain elements of your music. For example, boosting the low frequencies can add depth and richness, while reducing certain frequencies can help achieve clarity and prevent muddiness.
To give you a better understanding, let’s take a look at the following table:
| Frequency Range | Adjustment | Effect |
|---|---|---|
| 20 Hz – 80 Hz | Boost | Enhances the low-end and adds weight to the mix. |
| 500 Hz – 1 kHz | Reduce | Reduces muddiness and creates more clarity in the mix. |
| 8 kHz – 16 kHz | Boost | Brings out the brilliance and sparkle in vocals and instruments. |
By making precise adjustments within these frequency ranges, you can sculpt the sound of your music and achieve the desired tonal balance. Remember to always use your ears as your guide and trust your judgment when applying EQ in the mastering process.
Compression and Limiting in Mastering
In the world of audio mastering, compression and limiting are essential tools for achieving the desired sound quality and dynamics in your music. Compression helps to control the dynamic range of a track by reducing the volume of louder elements, while limiting ensures that the overall volume stays within a specific range. These techniques can greatly enhance the impact and clarity of your music, making it more enjoyable for your listeners.
When applying compression, it’s important to strike a balance between controlling dynamics and maintaining a natural sound. Too much compression can lead to a loss of dynamic range and a “squished” sound, while too little compression may result in inconsistent volume levels. By using compression judiciously, you can achieve a more balanced and polished sound for your tracks.
“Compression and limiting are essential tools for achieving the desired sound quality and dynamics in your music.”
Limiting, on the other hand, helps to increase the overall volume of your tracks while preventing clipping and distortion. It sets a threshold beyond which the audio signal cannot exceed, ensuring that the final master remains within acceptable limits. By carefully adjusting the settings of your limiter, you can achieve a consistent volume level across all tracks on your album, making for a more cohesive listening experience.
Controlling Dynamics and Increasing Volume
When using compression and limiting in mastering, it’s important to understand the impact they have on the dynamics and overall volume of your music. By controlling dynamics, you can ensure that softer passages are more audible while preventing louder sections from becoming overwhelming. Additionally, by increasing the volume of your tracks, your music will have a stronger presence and stand out in the competitive music industry.
Remember that compression and limiting should be used in moderation and as part of an overall mastering strategy. It’s important to listen critically to your music and make adjustments based on what sounds best for each specific track. With careful application of compression and limiting techniques, you can achieve a professional and impactful sound that captivates your audience.
| Compression | Limiting |
|---|---|
| Controls dynamics and volume | Increases overall volume and controls peaks |
| Reduces volume of louder elements | Sets a threshold for maximum volume |
| Enhances impact and clarity | Prevents clipping and distortion |
| Should be used in moderation | Ensures consistent volume across tracks |
Remember, mastering is a creative and subjective process. Experiment with different compression and limiting settings to find the right balance for your music. By understanding the basics of compression and limiting, you can take your home recordings to the next level and achieve a professional, polished sound.
Gaps and Track Fades in Mastering
In the process of mastering your music, it is important to pay attention to the spaces between tracks and the use of fades. Proper spacing and fades contribute to the overall flow and cohesiveness of an album, creating a seamless listening experience for your audience.
In most cases, CDs have a standard 2-second gap between tracks. However, this can be adjusted during the pressing process to suit your preferences. You may want to experiment with different gap lengths to find the right balance for your album. Just keep in mind that shorter gaps can create a more continuous flow, while longer gaps can provide a brief moment of silence for the listener to absorb the previous track.
Fades are another important aspect of mastering. They can be used to fade in the beginning of a track or fade out the end, creating smooth transitions and avoiding abrupt changes in volume. Crossfades between tracks can also be employed to seamlessly blend different songs together, especially if your album is designed to be listened to as a continuous piece of music. However, if individual tracks are sold separately, it’s crucial to consider how crossfades may affect the listening experience when tracks are played out of order.
Example Table: Different Track Fades
| Track | Fade In | Fade Out |
|---|---|---|
| Track 1 | 1 second | 2 seconds |
| Track 2 | 0.5 seconds | 1 second |
| Track 3 | No fade | 2 seconds |
Remember, the goal is to create a cohesive listening experience for your audience. Be mindful of how the gaps and fades between tracks contribute to the overall flow and mood of your album. Experiment with different options, seek feedback from trusted sources, and fine-tune your mastering decisions to best serve your music.
Balancing Track Levels in Mastering
When it comes to mastering your home recordings, one crucial aspect to consider is the balance of track levels. Having a consistent volume throughout your album not only ensures a professional listening experience but also contributes to the overall flow and vibe of the music. Abrupt changes in volume can disrupt the immersion and enjoyment for your listeners. To achieve volume consistency, it’s important to carefully adjust the levels of each track in relation to one another.
Start by analyzing the dynamics of each individual track. Listen for any parts that may be significantly louder or quieter than the rest of the song. Use volume automation or compression to even out these variations and bring them closer to the desired level. Remember, the goal is not to make every track sound exactly the same, but rather to achieve a balanced and cohesive sound across the whole album.
As you work on balancing track levels, it’s also crucial to consider the order of the tracks on your album. Smooth transitions between songs can greatly enhance the listening experience. Thoughtfully plan the progression of volume and energy throughout the album. By paying attention to the overall dynamics and making adjustments where necessary, you can create a seamless and engaging journey for your listeners.
Example of Track Volume Balance:
| Track | Volume Level (dB) |
|---|---|
| 1. Intro | -20 |
| 2. Upbeat Song | -13 |
| 3. Ballad | -16 |
| 4. Energetic Track | -12 |
| 5. Instrumental Interlude | -19 |
| 6. Closing Song | -15 |
By referencing the table above, you can see how the volume levels of each track are carefully balanced to create a cohesive listening experience. The intro and instrumental interlude are intentionally quieter to create contrast with the more energetic songs, while the ballad and closing song are slightly softer to evoke a sense of intimacy. These deliberate choices contribute to the overall flow and narrative of the album.
Remember, balancing track levels in mastering is an important step in presenting your music in the best possible light. Take the time to analyze and adjust the volumes of each track, considering both individual dynamics and the overall album progression. Your efforts will pay off with a professional and enjoyable listening experience for your audience.
Comparing the Mastered Album Everywhere
Once you have completed the mastering process for your album, it is crucial to test the final master on various playback devices. This will help ensure that your music sounds good and translates well across different platforms. By listening to the mastered album on laptops, stereos, cars, and headphones, you can identify any potential issues and make necessary adjustments.
Inviting trusted musician friends to provide feedback and constructive criticism can also be invaluable in fine-tuning the final master. They can offer fresh perspectives and help you identify any areas that may need improvement. By seeking feedback from people with different listening preferences and experiences, you can gain valuable insights and make informed decisions about the final master.
It is important to keep in mind that different playback devices and listening environments can have a significant impact on how your music is perceived. By testing your mastered album on a variety of devices and seeking feedback, you can ensure that it sounds great wherever it is played. This attention to detail and commitment to quality will help you create a professional and enjoyable listening experience for your audience.
| Playback Device | Testing Criteria | Results |
|---|---|---|
| Laptop | Overall sound quality, clarity, and balance | The album sounded crisp and well-balanced on the laptop speakers. |
| Stereo | Soundstage, stereo imaging, and depth | The tracks had a wide stereo image and a good sense of depth when played on the stereo system. |
| Car | Bass response, presence, and clarity | The bass was punchy and well-defined, and the vocals were clear even in a car environment. |
| Headphones | Detail, dynamics, and overall balance | The album exhibited intricate details, a wide dynamic range, and a pleasing balance when listened to through headphones. |
Tips for Testing:
1. Use different types and brands of playback devices to ensure a diverse range of listening experiences.
2. Pay attention to details such as clarity, balance, dynamics, and stereo imaging.
3. Take notes during the testing process to document any observations or areas that need improvement.
4. Seek feedback from trusted musician friends or industry professionals who have experience in music production.
The Importance of Mastering Your Music
Mastering your music is a crucial step in ensuring professional quality and competing with commercially released tracks. It is the final touch that enhances the loudness, fullness, and overall sound quality of your music. By effectively mastering your music, you can create a polished and marketable final product that shines on various playback systems.
Proper mastering is essential in today’s music industry, where there is stiff competition. It allows you to present your music in the best possible light and stand out from the crowd. When listeners come across your music, whether on streaming platforms, radio, or live performances, they expect a certain level of production quality. Mastering helps you meet those expectations by ensuring that your music sounds professional and on par with commercially released tracks.
With the advancement of technology, it is now more accessible than ever to master your own music at home. You no longer need to rely solely on expensive studios or professional engineers. By learning the fundamentals of mastering and using the right tools, you can achieve professional results from the comfort of your home recording studio.
Investing time and effort into mastering your music demonstrates your dedication to your craft. It shows that you value the presentation and quality of your work. When your music is properly mastered, it creates a better listening experience for your audience and leaves a lasting impression. So, take the time to master your music and unleash its full potential.
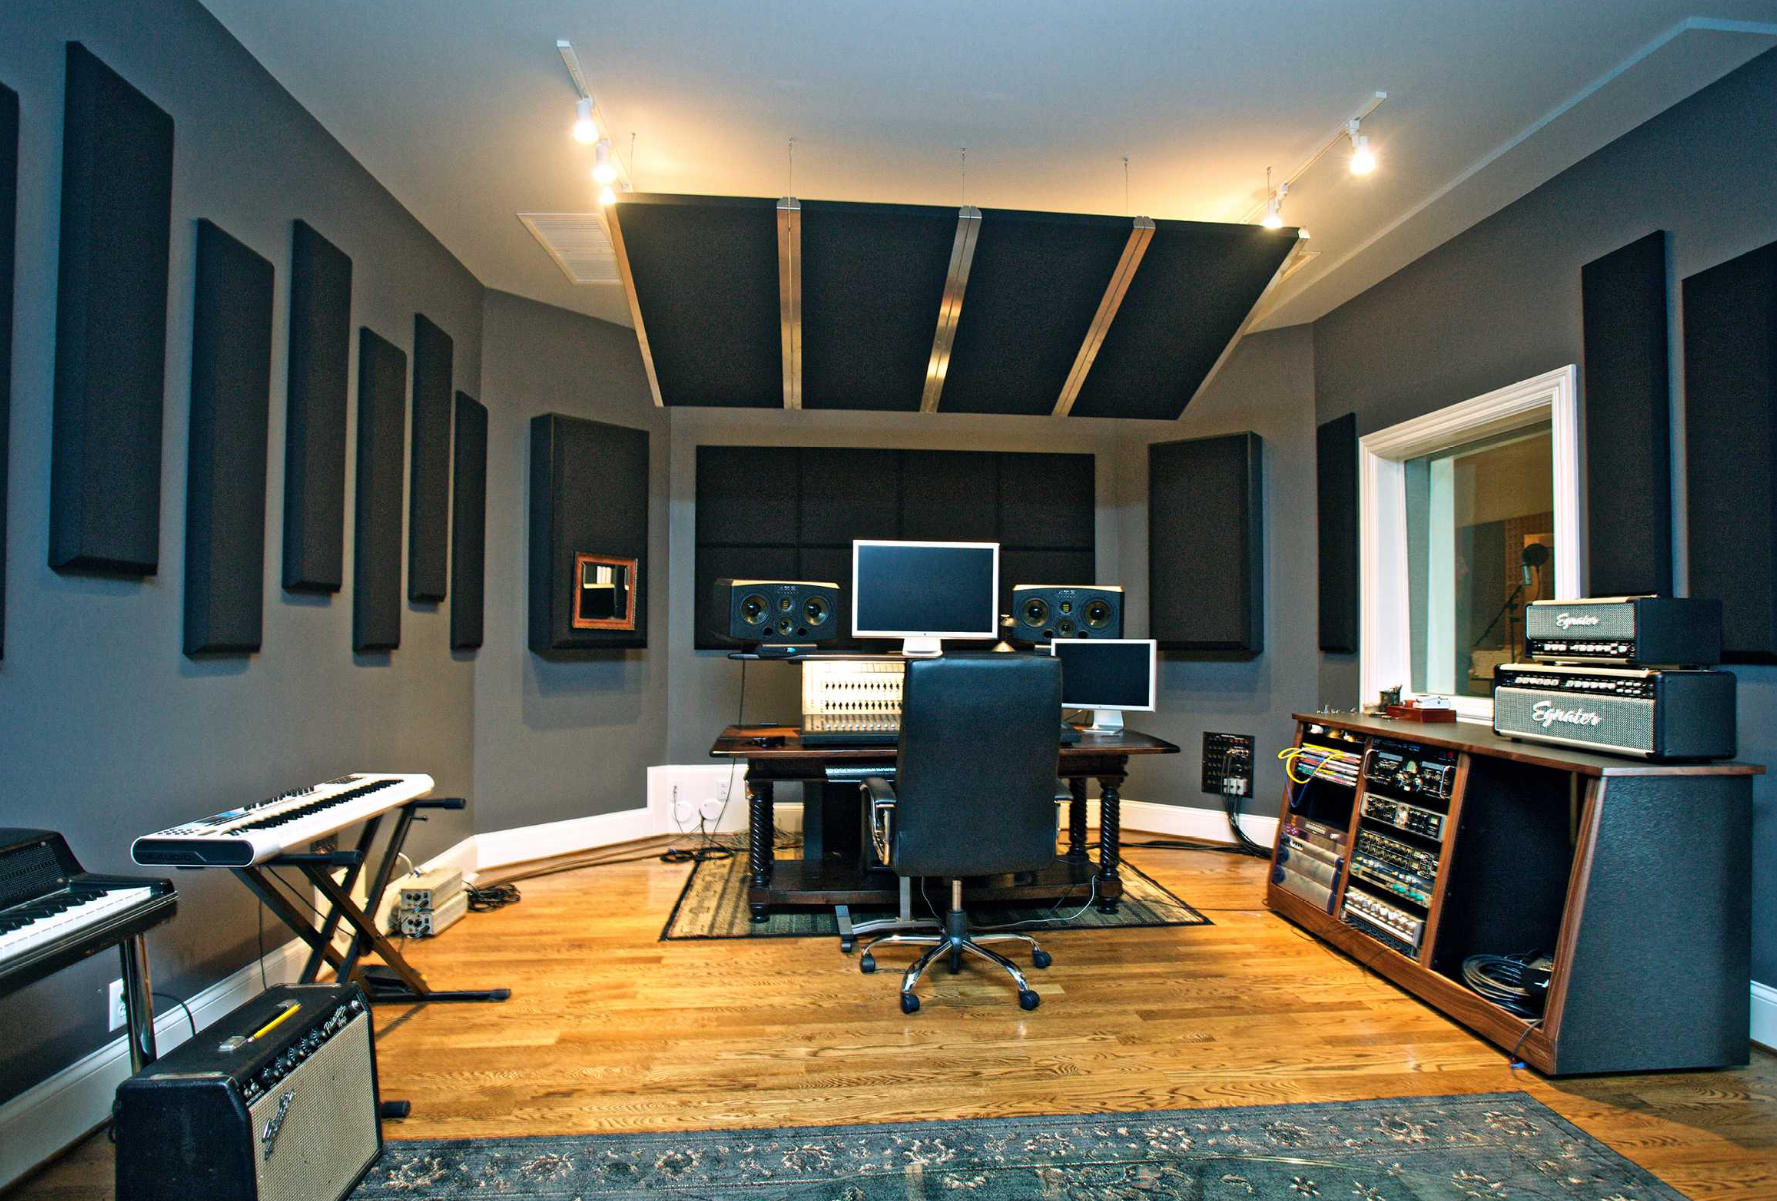
The Benefits of Recording at Home
Recording music at home has become increasingly popular, thanks to advancements in technology. With the right equipment and knowledge, it is possible to produce high-quality music in a home recording studio. Many famous albums have been recorded in non-professional spaces, proving that it’s the skills and creativity that matter more than the equipment. By focusing on developing your skills and embracing the flexibility of home recording, you can achieve professional results without the need for expensive studios.
One of the major benefits of recording at home is the convenience it offers. You have the freedom to work on your music whenever inspiration strikes, without the limitations of studio hours or rental costs. This allows for a more relaxed and comfortable creative environment, which can greatly enhance the creative process. You can experiment with different recording techniques, take your time to perfect your performances, and explore your artistic vision without feeling rushed or pressured.
Additionally, home recording allows for complete control over every aspect of the recording process. You can create your own personalized setup, tailor-made to suit your specific needs and preferences. You can choose the microphones, preamps, and other equipment that best capture the sound you envision, allowing for a more unique and personal sonic signature. You can also experiment with different recording techniques and styles, without the fear of judgment or constraints from outside influences.
Furthermore, recording at home can be a more cost-effective option for musicians on a budget. Traditional recording studios can be quite expensive to rent, especially for extended periods or multiple recording sessions. By investing in your own home recording setup, you eliminate these recurring costs and can allocate your budget towards acquiring high-quality equipment that will enhance the overall sound of your recordings. This also gives you the freedom to take your time and experiment with different recording techniques without worrying about hourly studio fees.
| Benefits of Recording at Home |
|---|
| Convenience and flexibility |
| Total control over the recording process |
| Cost-effective compared to studio rentals |
| Ability to experiment and explore artistic vision |
In conclusion, recording at home offers numerous benefits for musicians seeking to produce high-quality music. The convenience, control, cost-effectiveness, and creative freedom it provides make it an attractive option for aspiring artists. With dedication, practice, and the right equipment, you can achieve professional-level recordings right from the comfort of your own home.
Conclusion
Now that you have learned the basics of mastering your home recordings, you are equipped with the tools to effectively promote and share your music with the world. By following the tips and techniques discussed in this guide, you can enhance the sound quality of your tracks and compete with commercially released music.
Remember to experiment with different track orders to create the desired mood and narrative for your album. Pay attention to equalization and make subtle adjustments to enhance warmth and brightness without drastically changing the sound. Properly balance track levels to ensure a consistent listening experience and consider using fades and spacing between tracks to create a cohesive album.
Once you have completed the mastering process, it is important to test your music on various playback devices and seek feedback from trusted musician friends. This will help you fine-tune the final master and ensure it sounds great across different platforms.
With dedication, creativity, and continuous improvement of your mastering skills, your home recordings can stand out and rival commercially released tracks. Don’t be afraid to share your music with the world and let your passion and talent shine!